
Why Belt Size Is Not the Same as Trouser Size
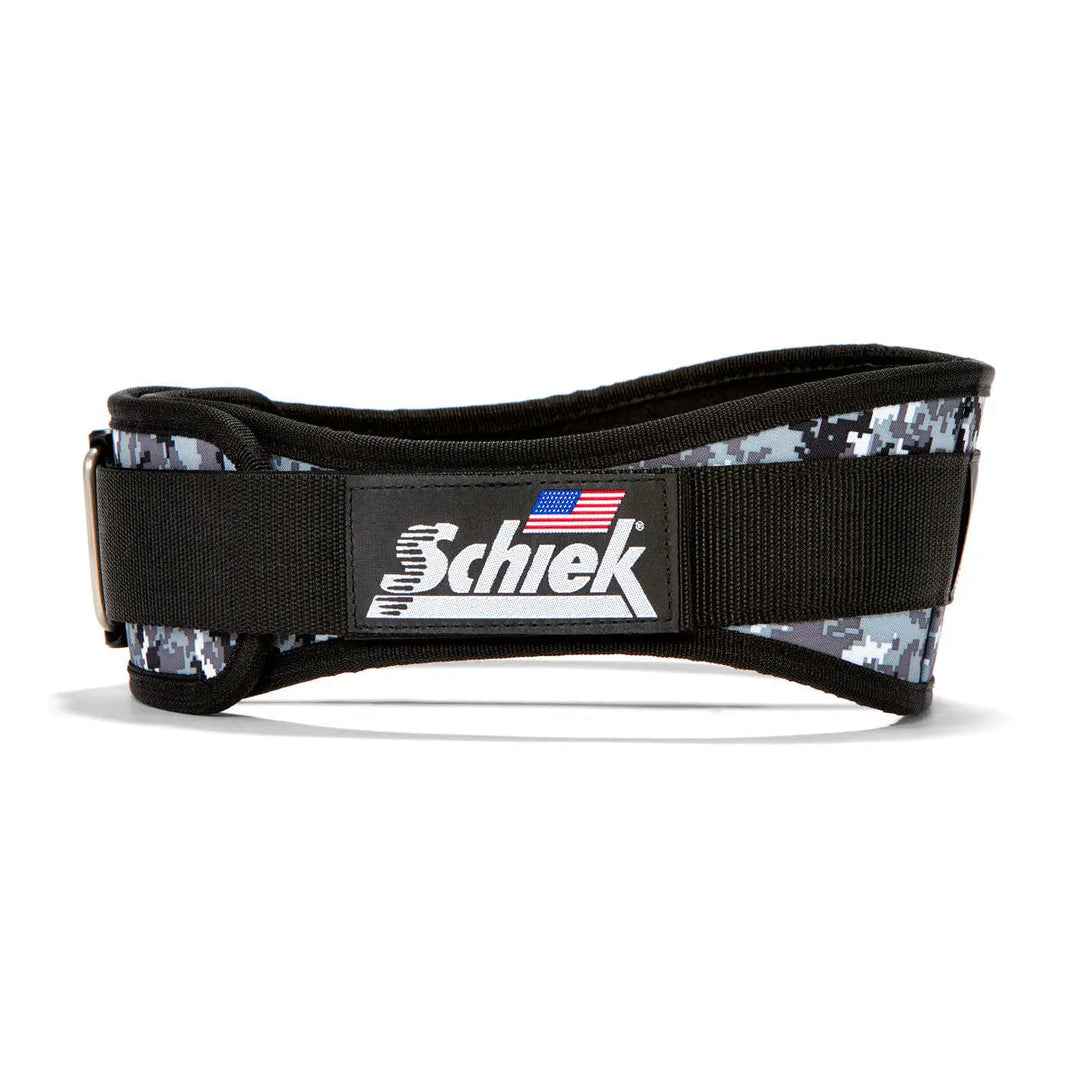
Trouser size is a clothing label, not a dependable belt measurement. Clothing can sit at a different height, include ease, and vary by brand, so use the size chart for the exact lifting-belt model.
Measure at belt height
Wrap a flexible tape around your torso where you expect the belt to sit. Keep it level and comfortably snug without compressing your body. If you train over a shirt, note that measurement too.
Read the chart carefully
Check whether the product chart asks for a body measurement or the belt’s physical length. Do not assume sizes are standardized across brands or models. Record the units so inches and centimetres are not confused.
Handle boundary measurements
If your measurement is at the edge of a size range, repeat it and contact the retailer with the result and model name. Ask how much adjustment range the selected size provides instead of guessing from trousers.
Confirm the fit in movement
Once received, try the belt during light practice. It should stay in place without pinching or restricting a comfortable breath. Browse Schiek belts for model details.
Trouser sizing often reflects garment cut and personal fit, so its number may not match a lifting belt. Measure your body at the position where you plan to wear the belt and keep the tape measure comfortably snug. Record the result in the units used by the product chart.
For a useful comparison, measure at the same height and over the clothing you expect to wear while lifting. Keep the tape horizontal and snug without compressing your waist, then note the measurement rather than rounding it to a trouser size. Belt charts can differ by model, so use the chart for the exact belt you are considering. If the result sits near a boundary, ask the retailer how that model adjusts across its size range.
Trouser waistbands can sit higher or lower than a lifting belt, and their fit may change with the cut of the garment. For the most useful measurement, stand naturally and measure at the spot where you expect the belt to sit. Compare that figure with the size chart for the exact belt model.
Browse weightlifting belts, wrist wraps, and ABG Stretch Tape, or contact Schiek Sports Australia with a product question.
A belt works best when it supports a movement you already know how to perform. It gives the trunk something firm to brace against, but it does not lift the weight for you or replace practice. Before adding one to a session, rehearse the movement with a manageable load and notice where your torso naturally bends and where the belt sits comfortably. The aim is a repeatable setup that lets you breathe, brace and move without fighting the equipment.
Fit is personal because torso length, waist shape and preferred lifting position differ. A belt that feels comfortable while standing may press into the ribs or hips at the bottom of a squat, so check it in the positions you actually use. Try a few bodyweight repetitions, then an easy warm-up set. If the edge digs in, shifts, or makes you alter your movement to avoid pressure, adjust its position or fastening before increasing the load.
Breathing and bracing deserve attention whenever a belt is part of the setup. Take a controlled breath, create firm pressure around the trunk, and keep that pressure as you begin the repetition. The belt can provide a surface to brace against in several directions; it should not be so tight that you cannot take a useful breath. Practise this at light effort first. A calm, repeatable brace is more useful than pulling the belt as tight as possible.
Different exercises may call for slightly different belt placement. A low-bar squat, front squat, deadlift and overhead lift do not all put the torso in the same position. Small adjustments can make the edge more comfortable while preserving room to move. Make one change at a time, then repeat the same easy movement so you can tell whether it helped. Keep the placement that feels stable and does not interfere with your range of motion.
Use the belt deliberately rather than automatically for every repetition. Some lifters wear it for heavier working sets and take it off for warm-ups or accessory work; others prefer to practise with it more often. Your training plan, experience and comfort can guide that choice. Keep some unbelted practice where appropriate, and use loads you can control. A belt is training equipment, not a reason to ignore technique or turn every set into a maximum effort.
A useful practice session is simple: set the belt, take a breath, brace, perform one repetition, and then reassess. Check that it stayed in place and that you could reach the intended depth or start position. Repeat with a modest load before relying on the setup for demanding work. If the belt changes how you move, pause and troubleshoot the position, tension or exercise instead of assuming that more tightness will solve the problem.
Comfort can change as a session progresses. Warmth, sweat, a different shirt, or fatigue may affect how the belt feels and how securely it stays in place. Recheck the fastening between sets, especially after removing or repositioning it. Do not leave a loose end or closure where it can catch on equipment. A short check takes little time and helps keep your attention on the lift rather than on a belt that is sliding or pinching.
New equipment often feels unfamiliar at first. Give yourself time to learn how to position and fasten it before using it on your hardest set. Practise in a quiet part of the workout and note the setting that feels secure. Avoid making several changes at once, since it becomes difficult to identify the source of discomfort. Familiarity should come from controlled repetitions and sensible adjustment, not from forcing yourself to tolerate a fit that feels wrong.
After training, let the belt air out in a dry place before putting it away. Sweat and dampness can linger around padding, seams and closure components. Wipe off surface dirt with a soft, lightly damp cloth when needed, and follow the care guidance supplied with the product. Avoid harsh cleaners, soaking or direct high heat unless the manufacturer specifically allows it. Basic care helps keep the material pleasant to handle and makes wear easier to spot.
Look over the belt from time to time, especially where it bends and where the closure bears tension. Check seams, stitching, fasteners and any adjustment mechanism for damage or unusual looseness. Normal cosmetic wear is different from a component that no longer holds securely. If you find a defect that affects reliable fastening, stop using the belt until you have resolved it. Equipment inspection is a practical habit, not a prediction that every mark signals failure.
Keep a brief note if you are still refining your setup. Recording the exercise, belt position, closure setting and comfort can reveal which arrangement works consistently. This is particularly useful when you train at different times or change clothing layers. The note need not be complicated; a few words after the session are enough. Use it as a reminder, then continue to judge each session by how the belt feels and behaves that day.
If you are unsure whether a particular belt suits your training, compare its size information, shape, fastening and stated use before purchasing. Product names alone do not tell you how it will feel on your body. Measure at the place where you expect to wear it and consult the current size chart. When a measurement falls near a boundary, ask the retailer for guidance rather than guessing from trouser size or choosing solely by appearance.
The belt works best when it supports a movement a lifter already know how to perform. It gives the trunk something firm to brace against, but it does not lift the weight for a lifter or replace practice. Before adding one to a session, rehearse the movement with a manageable load and notice where the torso naturally bends and where the belt sits comfortably. The aim is a repeatable setup that lets a lifter breathe, brace and move without fighting the equipment.
Fit is personal because torso length, waist shape and preferred lifting position differ. The belt that feels comfortable while standing may press into the ribs or hips at the bottom of a squat, so check it in the positions a lifter actually use. Try a few bodyweight repetitions, then an easy warm-up set. If the edge digs in, shifts, or makes a lifter alter the movement to avoid pressure, adjust its position or fastening before increasing the load.
Breathing and bracing deserve attention whenever a belt is part of the setup. Take a controlled breath, create firm pressure around the trunk, and keep that pressure as a lifter begin the repetition. The belt can provide a surface to brace against in several directions; it should not be so tight that a lifter cannot take a useful breath. Practise this at light effort first. The calm, repeatable brace is more useful than pulling the belt as tight as possible.